
What to Do After Your Offer Is Accepted: A First-Time Homebuyer Guide

Your offer was accepted. That is a big step, but the home is not yours yet.
Now the transaction moves into closing. This phase includes deadlines, documents, inspections, lender updates, and final details. Use this guide to stay organized and avoid surprises.
This content is for general information only. Real estate contracts, financing rules, and closing steps can vary by state and by transaction.

Know what happens during the closing process
After the seller accepts your offer, the home goes under contract. That means both sides agreed to the main terms, but several conditions still need to be met before ownership changes hands.
Most closings include these steps:
Earnest money deposit
Loan application updates
Home inspection
Appraisal
Title search
Homeowners insurance setup
Final loan approval
Final walk-through
Signing closing documents
Transfer of funds and keys
Your purchase agreement will list key dates. Read it carefully. Pay close attention to deadlines for inspections, financing, appraisal, and closing.
Do not assume your agent or lender will remind you of every deadline. Good professionals will help, but the contract is still your responsibility. Add every date to your calendar as soon as the offer is accepted.
The closing process can feel slow, then move fast. Some days bring no updates. Other days require a document within hours. Keep your phone nearby and check your email daily.
Prepare the documents your lender and title company need
Once the offer is accepted, your lender will ask for updated financial documents. Even if you provided them during pre-approval, expect to send fresh copies.
Common documents include:
Recent pay stubs
W-2s or tax returns
Bank statements
Investment or retirement account statements
Photo ID
Proof of earnest money deposit
Gift letter if someone is helping with funds
Homeowners insurance quote or policy
Explanations for large deposits or credit inquiries
Keep these documents in one secure folder. If possible, save digital copies as PDFs. Clear file names help. For example, use `March bank statement` instead of `scan123`.
During this phase, avoid changes that could affect your loan approval. Do not open new credit cards, finance furniture, switch jobs without talking to your lender, or move large sums of money between accounts without documentation.
Your lender reviews your full financial picture before final approval. A new debt or unexplained deposit can slow things down.

Schedule inspections and understand the appraisal
The inspection and appraisal are two different steps. Both matter.
The home inspection protects your understanding of the property
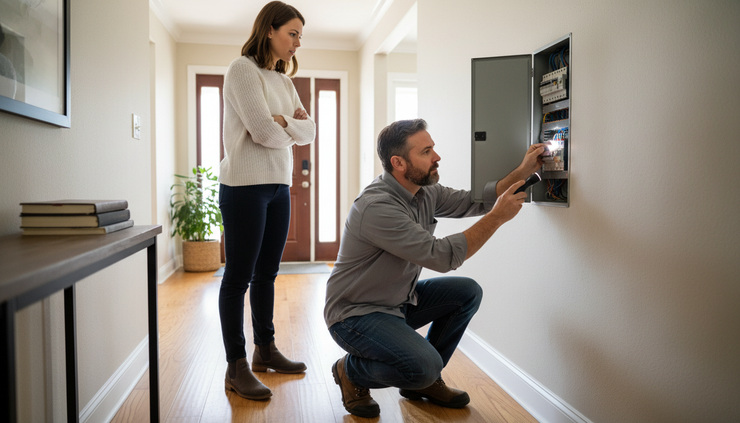
A home inspection gives you a clearer view of the home’s condition. The inspector checks major systems and visible areas. This often includes the roof, foundation, plumbing, electrical, HVAC, appliances, attic, basement, and exterior.
No home is perfect. Even newer homes can have issues.
After the inspection, you will receive a report. Review it with your agent. Focus on health, safety, function, and major cost items. Loose cabinet handles are minor. Active roof leaks, unsafe wiring, or drainage problems need more attention.
Depending on your contract, you may be able to:
Ask the seller to make repairs
Request a credit
Renegotiate terms
Move forward as planned
Cancel within the inspection contingency period
Your agent can help you decide what is reasonable in your market.
The appraisal protects the lender’s investment
The appraisal is ordered by the lender. Its purpose is to confirm that the home’s value supports the loan amount.
The appraiser looks at the property and compares it with recent nearby sales. If the appraisal comes in at or above the purchase price, the loan process usually continues.
If the appraisal comes in low, there are several possible paths. You may renegotiate with the seller, bring more cash to closing, challenge the appraisal with supporting sales, or use an appraisal gap clause if one is in the contract.
Do not panic if an issue comes up. Inspection and appraisal problems are common. The key is to respond quickly and make decisions based on facts.
Communicate clearly with your agent and lender
Good communication keeps the closing on track. After the offer is accepted, your agent and lender become your main guides.
Ask your agent about:
Contract deadlines
Inspection results
Seller repair requests
Final walk-through timing
What to bring to closing
Ask your lender about:
Loan conditions
Interest rate lock
Appraisal status
Closing cost estimate
Cash needed to close
Final approval timing
Keep messages simple and direct. If you do not understand a request, ask right away. A small question now can prevent a delay later.
A useful message might be:
“Can you confirm the next deadline and what you need from me today?”
This keeps everyone focused on action.
Also, tell your agent and lender about any change in your situation. That includes job changes, new debts, large deposits, travel dates, or problems getting documents. Surprises cause stress. Early notice gives the team time to solve problems.
Get ready for the move and final walk-through
The final stretch is practical. You are preparing to take ownership and move in.
Start with utilities. Contact providers for electric, gas, water, trash, internet, and any local services. Schedule them to start on or before closing day, based on local rules and the seller’s move-out timing.
Next, set up homeowners insurance. Your lender will need proof before closing. Compare coverage, deductibles, and replacement cost terms. Do not wait until the last minute.
You should also plan for these tasks:
Schedule movers or reserve a truck
Change your mailing address
Transfer or start utility accounts
Review the closing disclosure
Save extra cash for small repairs
Keep important documents easy to reach
Do not pack your ID or checkbook if needed for closing
Before closing, you will usually do a final walk-through. This is your chance to confirm the home is in the agreed condition. Check that seller repairs are complete, appliances remain if included, and no new damage appeared after the inspection.
Bring your contract, inspection repair agreement, and phone charger. Take your time. Open doors, test lights, run faucets, flush toilets, and look for leaks.
If something is wrong, tell your agent before signing closing documents.

Make the first days of homeownership easier
After closing, keep your paperwork in a safe place. This may include the closing disclosure, deed information, loan documents, inspection report, warranties, insurance policy, and repair receipts.
Change the locks soon after you move in. You do not know how many old keys exist. Then locate the main water shutoff, electrical panel, gas shutoff if applicable, and HVAC filter.
Create a simple first-month home list:
Replace smoke detector batteries if needed
Test carbon monoxide detectors
Change HVAC filters
Clean dryer vents
Update your address with banks and insurance providers
Set reminders for mortgage payments
Start a small home maintenance fund
Do not feel pressure to fix everything at once. Start with safety, water, electrical, and security. Paint colors and décor can wait.
If you want help staying on track from accepted offer to closing day, connect with VIP Real Estate Team for guidance through each step.
Buying a home is exciting, but the accepted offer is only the middle of the process. Stay organized, answer requests quickly, and lean on your agent and lender. That is how you move from contract to keys with less stress.


Comments